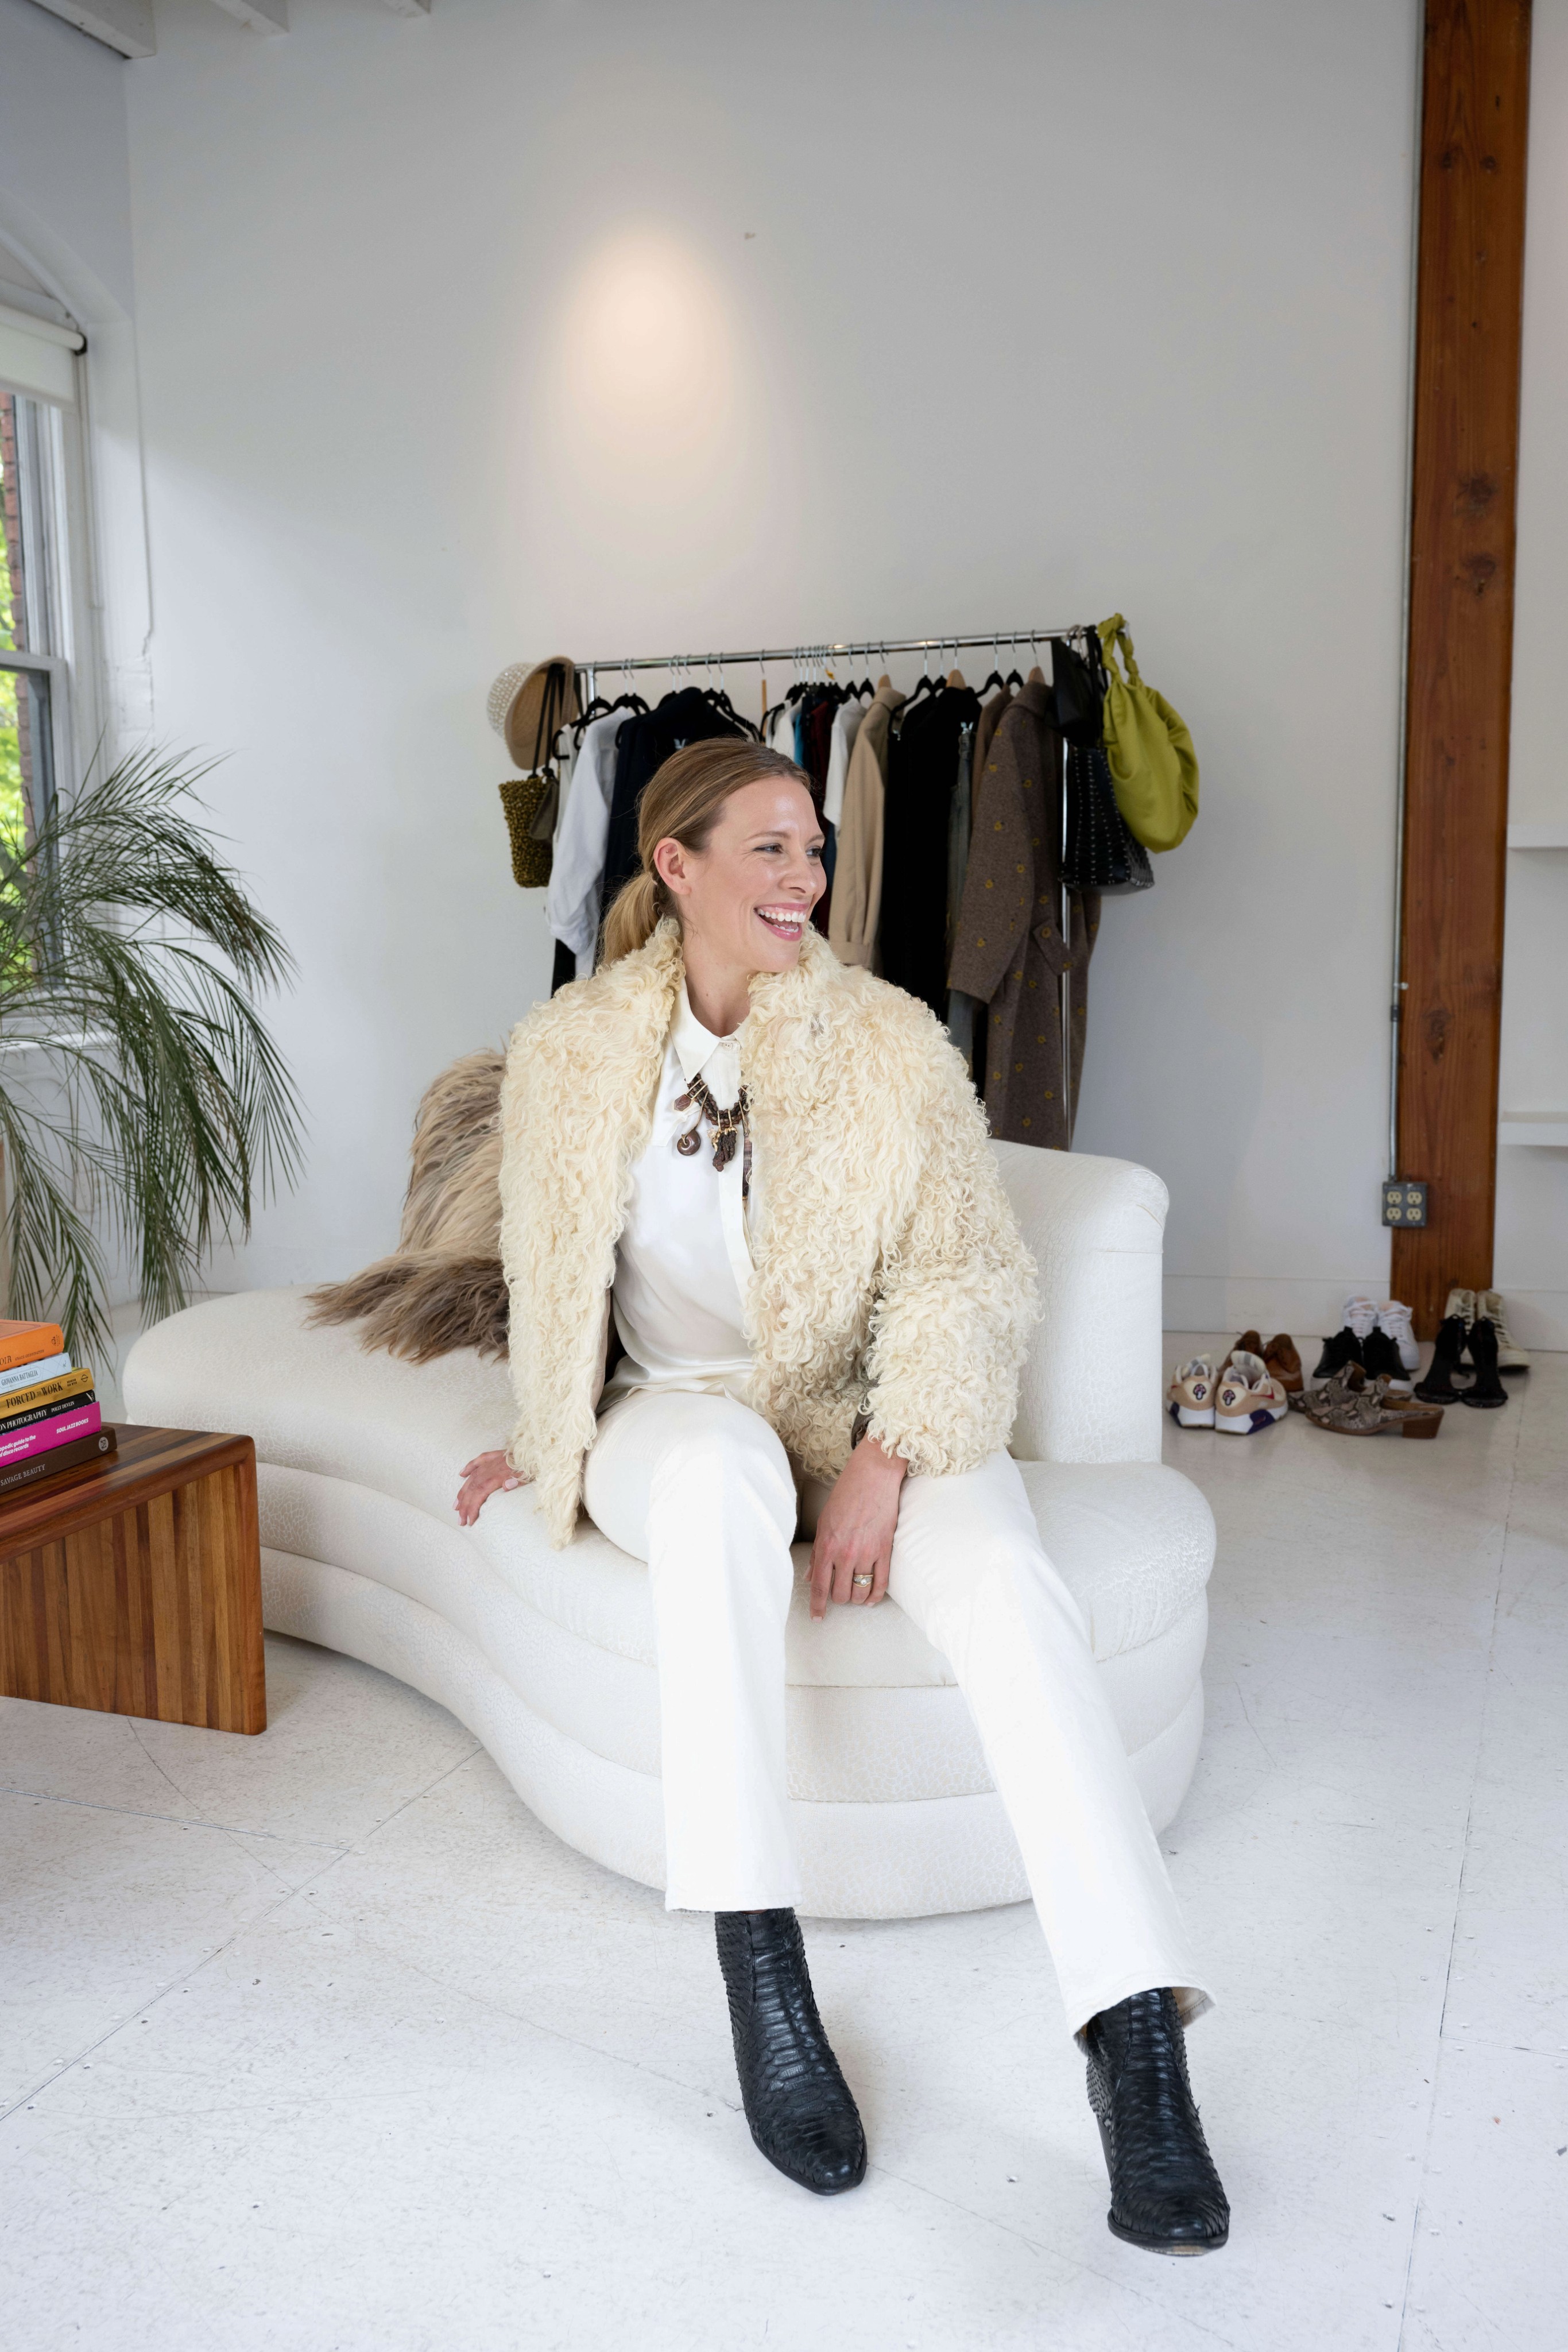
Being in front of the camera makes many of us feel uncomfortable. We compare our awkward selfies to the magazine spreads when we’ve never even once considered what our “best angles” could be. We tense up and start sweating and the pressure builds to Make. It. Count.
The truth is, if you’re the face of your brand, you’re going to need some stellar portraits. This means you will need to face the camera.
And I’ll be the first and last one to tell you that you can do it and have fun during the process! Here’s how.
Preparation goes a long way and the right team will help you kick back and relax.
So I’ve gathered sage advice from trusted
- Design the message YOU want. Images communicate your brand. Write down your mission for this photoshoot and share it with your website designer, your photographer, your hair stylist in advance. This will inform every decision they make to help ensure your satisfaction with the outcome.
- Plan three outfits for the shoot at least two weeks in advance. What clothes will help you feel like your best self? Avoid running around at the last minute feeling like you have nothing to wear. Send pictures of your ideas to your team for their input. Options will allow you to mix and match on set as needed.
- While planning outfits, think about highlighting two of your favorite features. Use a belt to highlight a narrow waist, an interesting neckline to frame your face, 3/4 length sleeves to draw attention to slim wrists, colors to compliment your eyes, or rings to accessorize expressive hands.
If there is a possibility of your hands being in the photos, make sure that your hands and nails look good. I am a big fan of simplicity so keep your nails trimmed and use a nude or clear polish. Also, just like the skin on your face, your hands need a little love in the moisture department. Bump up your daily face lotion to cream if your skin is looking dry or flaky. Your makeup will look so much better if your skin is properly hydrated.
Kirstie Wight
- Your clothing should contour your figure, skimming your body without clinging. Contouring lines will be slimming on camera no matter what size you are. Lots of layers and stiff or boxy silhouettes can look tres cool in real life, but in 2D they’ll make you look larger than you are.
- Keep the attention on you and your message. Avoid low necklines that show cleavage or high hems that reveal too much leg. High contrast or oversized patterns will distract. A great wardrobe stylist will help you decide on the overall composition of your outfits so that you feel comfortable and authentic and the focus is on you.
Most people make the mistake of letting their nerves come through in their expression. Their eyes get wide, the mouth gets tense and the result is a deer-in-the-headlights-awkward-turtle moment. My favorite trick for this is looking down to the floor for a second to reset and check in with yourself about where you’re holding tension in your face and, when it’s time, think about a little warm smile (the one you have when you watch cute animal videos on YouTube) and flicker your eyes up. The longer we hold an expression the less real it feels, so you can keep doing this for an authentic expression each time.
Gia Goodrich
- Ask the photographer to show you a few stellar poses in advance so you have time to try them while they are setting up. Practice them in the mirror. Keep them in the back of your mind during the shoot, but don’t be married to them. Often the best images are captured when you least expect it! “Keep moving” is my mantra. Staying still is the enemy.
Control your proportions. The closer something is to the lens, the bigger it seems and conversely, the further away, the smaller. So if you want to minimize your hips, put your weight on your back foot and tilt your torso a little closer to the camera. Small forehead? Tilt your chin down slightly and it will appear larger. Next time your friend pulls out a selfie stick, take an inventory of what’s closest to the lens and make sure it’s what you want to enhance.
Gia Goodrich
- Schedule hair appointments in advance. If you are getting color, it needs time to set and become part of you. If you are experimenting with a new style, do this with plenty of time to get used to it. The point being, we want to avoid surprises or disappointment on your big day.
Healthy, shiny hair always looks great in photos. Make an appointment to see your regular hairstylist for a cut and color or brightening rinse 10-14 days before the shoot. This is not the time to try anything radical or new, your portrait should look like you with just a little extra.
Kirstie Wight
- Familiarize yourself with makeup. If you don’t wear much makeup, take a trip to a makeup counter or consult with a professional makeup artist in advance. Let the makeup artist know you want a natural look that highlights your eyes and cheekbones for the camera. Don’t be surprised if they layer on more foundation than you are accustomed to, that can read well on camera, but ask them to “go light”.
- Drink lots of water and eat clean for several days before the shoot. The last thing you want is to be dehydrated or feel bloated when the camera is pointing your direction. Avoid greasy or salty foods, lean protein and leafy greens work best!
- Bring your clothes to the shoot pressed and clean in a garment bag. Hang everything immediately when you arrive to avoid wrinkles. A lint brush, scissors, and clothespins are handy for fashion emergencies. With everything that’s going on, the last thing you need to worry about is Spot’s fur on your beautiful trousers that you didn’t have time to hem. Lean on your team for support, we’ve got this. Turn on some tunes and have some fun!
Want to learn more about how I can assist you? If yes, s
-Scarlet
Leave a Reply
You must be logged in to post a comment.